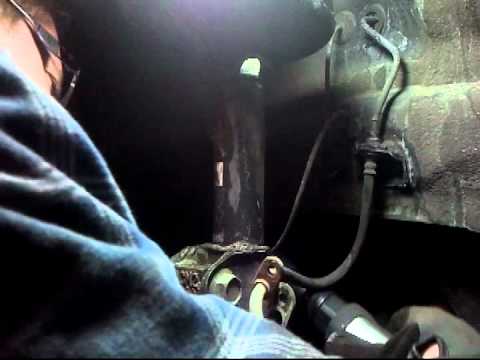
This is the replacement of the entire strut assembly on a 1999 Honda Odyssey mini van. Be certain to get an alignment after any job like this. Filmed on a Sa…
This is the replacement of the entire strut assembly on a 1999 Honda Odyssey mini van. Be certain to get an alignment after any job like this. Filmed on a Sa…
You must be logged in to post a comment.
)
Good video. Did this and it looks easy but the hardest part was getting the
nut off the top sway bar. Once that is off you are home free…did the back
shocks as well for $357 and it tool 3 hours. Note that the top nuts should
be tightened to 30 lbs torc and the bolts on the knuck to 120 lbs torc.
Thanks Thad!
Thanks Thad and all the other comments as well. I didn’t think to
consider Amazon for struts
thanks for posting. about to tackle mine this weekend
Great video. Going to pick up the parts today to do this project. Much
appreciated.
nice!
Thank you! Ordered the complete assembly and giving this a shot this
weekend. I ordered replacement stablizer links, hoping mine are easier to
remove.
thanks for the video. going to help alot when i do my wifes.
Great video. I was going crazy trying to figure this out. Now it seams
easy. Thanks bro..
Thanks sooo much made the job a lot easier!
Awesome video! Might get more light next time though:)
I have 2006 ODY, and front strut looks almost identical to your ’99. Last
week I’ve done the rear with KYB (made a huge difference in ride). I now
want to do the front. I like the fact you bought the entire assembly,
instead of buying parts and using spring compressors an etc. I’ll be doing
the same thing too!.
Great video…I’m sitting in a Honda dealership watching this while they do
my control arms but I couldn’t swallow the $1,000 they wanted to do the
struts (plus they didn’t have them). I’m confident now that I could do them
myself. Nice to see a Canadian vehicle with some salt on it! Where did you
buy your parts?
Thank you very much for taking the time to show that. Very helpful.
I’m not sure how long, only because it’s been a while and I was filming on
my own. One side might have been about an hour, but a little quicker on the
second. I didn’t have any troubles fishing the strut up through the holes
by myself.. that’s unfortunate it was bad for you. Thanks for the tip on
the 20mm on the backside… glad it worked out for you.
Amazon has the same strut assembly for $140 each side with free shipping.
for next time, rockauto.com has them for $125
Thanks Excellent video!!!!!
Thank you for the helpful video. Others picked up the 20mm bolts spacing,
but I missed it at first. Make sure to align the bolts as the original
strut you are replacing. There is a hole in the top plate you can use as
reference. You have to twist the top plate by hand and my wife helped me by
holding the spring as I twisted. Insert the two lower bolts to hold the
strut in place before you try to jack it up. Some painters tape over the
nut heads work good to hold them in your sockets.
I bought struts and sway bar end links (both sides) from rockauto.com for
$325 including shipping. I still considered having the dealer install, but
they wanted almost $500 for labor to install the parts I already had
(including alignment). Parts (if I recall) were another $450 from the
dealer, so i saved about $500 even after buying the bigger tools I needed
to do it myself.
Really helpful, thanks!!!
Thanks for posting this – made it much easier for me. A few things I’d add:
first – it was a royal pain trying to lift the strut into place and align
with the three holes for the top bolts – get someone to help either lift or
guide! Second – the hex head on the stabilizer really isn’t needed to
remove it. On the back side of the link end, there is a wrench flat – use
an open end (20mm) wrench to hold that while removing the 17mm nut. Good
luck with your project!
How long did it take you to do the first side? Took me two hours – but
probably half of that was spent trying to wrestle the strut into position
after I got the old one off!