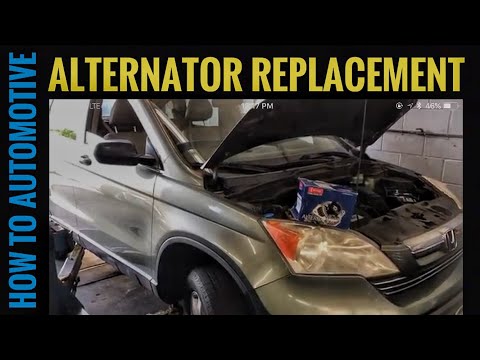
Brian Eslick from How to Automotive http://www.howtoautomotive.com takes you step-by-step through the process of replacing the alternator on a 2007-2011 Honda CR-V.
Get your How to Automotive T-shirts, stickers and more here: https://teespring.com/stores/how-to-automotive
Affiliate link mentioned in the video for Denso 210-0609 Remanufactured Super Class Alternator https://amzn.to/2wA1oQZ
Affiliate link mentioned in the video for Mountain (MTNRM6) 5 Piece Metric Double Box Universal Spline Reversible Ratcheting Wrench Set https://amzn.to/2NAVzZX
Affiliate link mentioned in the video for GearWrench 3680 Ratcheting Wrench Serpentine Belt Tool https://amzn.to/2C950i7
Affiliate link mentioned in the video for How to Automotive Tool Store https://www.amazon.com/shop/howtoautomotive
Website
For more videos, tips, and to purchase recommended tools and products visit my website at: http://www.howtoautomotive.com/
Stay connected at:
Email: howtoautomotive@gmail.com
Facebook: https://www.facebook.com/How-to-Autom…
Google+: https://plus.google.com/+HowtoAutomot…
LinkedIn: https://www.linkedin.com/in/brian-esl…
Disclaimer
Owing to factors beyond the control of How to Automotive/Brian Eslick, it cannot guarantee against unauthorized modification of this information, or improper use of this information. How to Automotive/Brian Eslick assumes no liability for property damage or injury incurred as a result of any information contained in this video. How to Automotive/Brian Eslick recommends safe practice when working with power tools, automotive lifts, lifting tools, jacks and jack stands, electrical equipment, blunt instruments, chemical lubricants, or any other tools or equipment seen or implied in this video. Because of factors beyond the control of How to Automotive/Brian Eslick, no information contained in this video shall express or imply warranty or guarantee of any particular result. Any injury, damage or loss that may result from improper use of these tools, equipment, or information contained in this video is the sole responsibility of the user and not How to Automotive/Brian Eslick. #howtoautomotive #AutoRepair #BrianEslick
)
Very helpful video, thanks man. Piece of advice to others: prop the hood with a 2×4 or something. That way the prop rod can be folded down out of your way.
Just replaced mine today thanks to this tutorial. Thanks for posting.
Definitely giving you the credit for actually doing this the easiest way possible. It’s so much easier when you remove the tire and splash guard. Thank you! You saved me soo much pain and time
that was really fast and easy
All repair videos should be like this. Succinct. Thanks very much.
I just did this on an FRV. It has far less space than this but all the fixings are almost identical. I had to remove the rad and engine mounting bolts to push the engine back an inch!!! Absolutely Horrid job on an FRV but this vid gave me a good head start.
Thank you for this video……you've helped another "diy" guy, saved me time and money! I totally appreciate it!
I did this today is 2 hrs