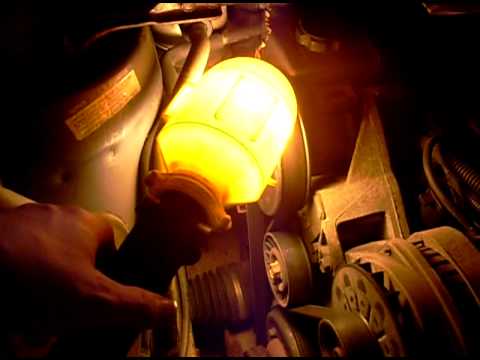
Me showing how I am doing my heater core on buick lesabre because I couldn’t find a youtube video on how to do it.
Me showing how I am doing my heater core on buick lesabre because I couldn’t find a youtube video on how to do it.
You must be logged in to post a comment.
)
Thanks for the vid. I am doing same on a 93 Park Avenue.
Too many plastic facia parts on this car. Ugh. Lightly pry out swivel
grills in dash. Screws behind them. Remove that piece – includes shroud
around instruments. Remove knee pad with 10mm bolts. Don’t remove hood
release and pull knee pad away from pass side. Similar underdash parts –
but not exact. Pay attention to levers, etc. Little room in engine
compartment. Pulled AC dryer tank. Spring clamps on core hoses were
pointed down. Break off core neck by pulling back of core towards pass
door. New core is pretty easy to install with worm gear clamps.
Sorry for taking so long to get back. I drained what needed to be drained
from the areas needing repair.
Yeah, hi, just checked out ur video. Q? Does one have to drain antifreeze
first. 2nd Q? mine is a 1997 buick lesabre limited. Hopefully it will all
be the same. Thanks for the insight.
Thanks for the info. I have never owned a buick before, but this looks WAY
easier than replacing the one on the tarus I had!
It’s not the easiest video to follow because the video was kind of an after
thought in the middle of the repair but I hope it helps you.
@victorypromotion I have to do one tomorrow so I wanted to see how much of
an ordeal I was in for. Doesn’t look to bad. Thanks for taking the time to
put the video up.
thnaku sir the video was very fucking helpful..mines is spewing coolant all
over my floor so this is wha i will be doing this up coming saturday..
i just changed mine on the limited, there is a little diffrence with the
vacuum lines and there is extra vac. modulator on the side of the box. but
after getting that removed every thingelse was excatly the same..thanks for
the video you saved me 300.00 dollars. thanks again ]
@maxny1 You’re welcome. I wish there was one when I did the job because it
would have made it a lot easier. I will try to make a video every time I do
a repair to help people from now on.
is that a limited edition buick or a custom edition
Limited but I don’t think it matters.
You’re welcome!!
I’m glad. I’m gonna try to post any repair I do once I get a new camera. My
daughter broke my old one a couple weeks ago.
They weren’t bad. I just had to take the A/C compressor can out of the way.
There’s a vacuum operated valve behind glove box. You take glove box off
with four screws directly underneath it. I’m not a pro mechanic, but I
believe that’s what you’re looking for. Like 4 or 5 vacuum lines and
another single pink one. There was no vacuum line in the heater hoses. I
did end up having to take the A/C compressor out to get to the heater
hoses. It was 2 hook ups like a garden hose and one clamp going around it.
Also had to disconnect a power clip.
How hard were the hose clamps near the firewall to remove?
Would this process be about the same for a 1995 Buick Century? I just
bought one that’s beautiful. But, it has that windshield fogging on rainy
days that only get worse when I try to defrost.
video really help me in doing it myself
You’re welcome.
Thanks the video was helpful.
Thx for the great video. Saved me a lot of time and money.
all i can say is that im glad someone else on the net is posting videos and
breaking down repairs shade tree style thanks made the job alot easier
It should be similar but I’m not a mechanic so you just need to look at it.
tks, for the heater core vidio.it was helpful, in one of the heater hoses
is a vacuum operated valve, that lets your hot water in.that’s what i am
after and i think its under the dash. did you notice it?